Before you fill it out
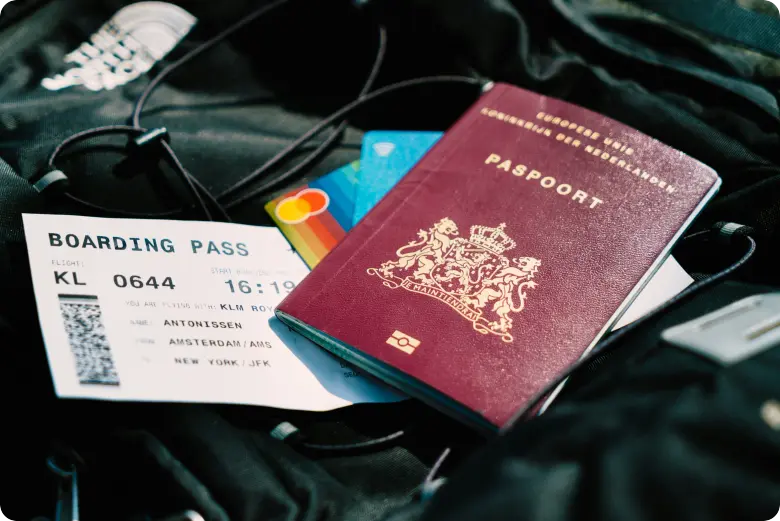
Have these ready next to you: your passport, your address and contact details, the reason you need the NIE, and your Modelo 790 Código 012 payment receipt. The Police lists the EX-15 form and the proof of payment as part of the required documentation for the NIE request.
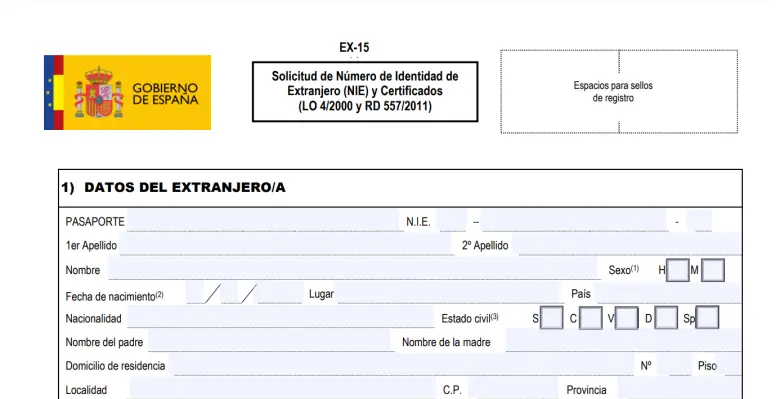
Step 1: Fill in section 1, “Datos del extranjero/a”
In the first block, enter your own personal details exactly as they appear on your passport: first surname, second surname, given name, sex, date of birth, place of birth, country, nationality, marital status, parents’ names, residential address, mobile number, and email. The form also includes a box for passport and NIE. For a first NIE request, in practice you normally identify yourself with your passport details. The form’s fields for this section are listed on page 1 of the official PDF.
A few small details matter here: mark H / M / X for sex, and the instructions note that X can only be marked by people who have that status recognized in their country of origin. For marital status, the form uses S / C / V / D / Sp, meaning single, married, widowed, divorced, or separated. The official instructions also say the birth date must be written with 2 digits for day, 2 for month, and 4 for year.
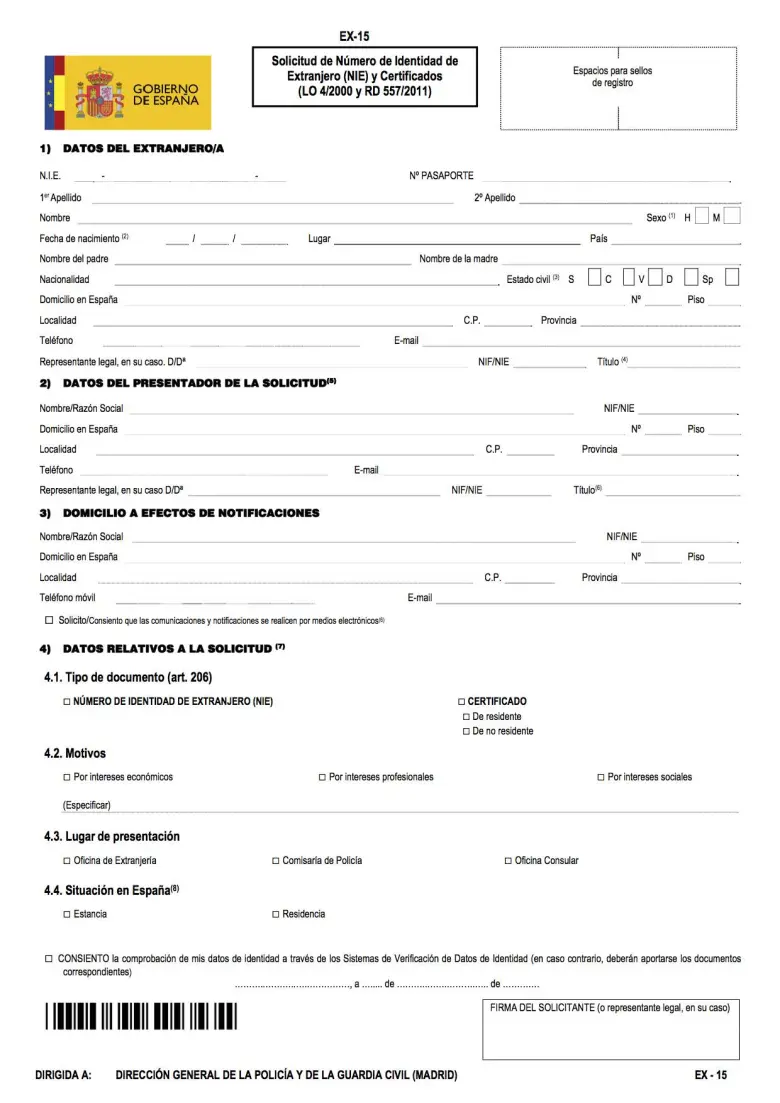
Step 2: Only fill section 2 if someone else is presenting the application for you
Section 2 is called “Datos del representante a efectos de presentación de la solicitud”. The instructions say this section is completed only if the person submitting the application is different from the applicant. So if you are filing the EX-15 yourself, leave this section blank. If someone is presenting it for you, enter that representative’s name or company name, ID document, address, phone, and email.
Step 3: Fill section 3, “Domicilio a efectos de notificaciones”
This section is for the address where official notices should be sent. You can put your own details again here, or another contact address if you want notifications to go somewhere else. The form also includes a checkbox to consent to notifications through the DEHú electronic notification system, and the instructions say that requires a valid electronic certificate or Cl@ve.
The lines marked “Espacios para sellos de registro” are for the administration, so leave those blank.
Step 4: On page 2, write your full name again
At the top of page 2, there is a line for “Nombre y apellidos del titular”. Write your full name there. Then move to section 4, which is the most important part of the form for an NIE request.
Step 5: In section 4.1, mark the type of document
In 4.1 Tipo de documento, tick “Número de Identidad de Extranjero (NIE)” if you are requesting the NIE. The same EX-15 form can also be used for a resident certificate or non-resident certificate, but for an NIE application you should mark the NIE box. The Police procedure page also identifies EX-15 as the form used for the NIE request.
Step 6: In section 4.2, mark your reason and specify it clearly
In 4.2 Motivos, tick one of the three boxes: intereses económicos, intereses profesionales, or intereses sociales. Right below that, where it says “Especificar”, write a short and specific reason. The official form requires you not only to choose the category, but also to specify the reason.
The safest way to write this is with a simple one-line explanation in Spanish, such as:
Step 7: In section 4.3, mark where you are filing
In 4.3 Lugar de presentación, tick the box that matches where you will submit the application: Oficina de Extranjería, Comisaría de Policía, or Oficina Consular. The Police says NIE requests are made directly to the Police, through Immigration Offices or Police Stations in Spain, or through Spanish Consular Offices abroad if the applicant is outside Spain.
Step 8: In section 4.4, mark your situation in Spain
In 4.4 Situación en España, choose Estancia or Residencia. On the form, these are the only two options shown. In practical terms, people usually mark Estancia if they are in Spain temporarily and Residencia if they already hold residence status. The form itself presents these as the categories you must choose between.
Step 9: Fill in place, date, and signature
At the bottom, write the city, day, month, and year, then sign where it says “Firma del solicitante”. If there is a legal representative, that person signs instead. Do not forget this part. The signature line is an explicit part of the official form.
Step 10: Do not fill page 3
The third page of the current official EX-15 is only instructions. You do not need to write anything there. It explains how to complete the form, including uppercase letters, black ink, original plus copy, and the notes attached to each section.
Final check before submission
Before you go to your appointment, check these five things:
- Your name matches your passport exactly.
- You marked NIE in section 4.1.
- You marked one motive and wrote a clear reason in section 4.2.
- You signed the form.
- You printed original and copy and included the Modelo 790 Código 012 proof of payment.
Practical instructions to complete the form correctly use this sequence:
- Download the official PDF.
- Complete your personal details exactly as shown on your passport.
- Choose the correct type of application.
- Write a clear explanation of your reason for applying.
- Review the form carefully before submission.
- Sign it before you submit it.
If possible, complete the form neatly and clearly so there is no confusion during processing.